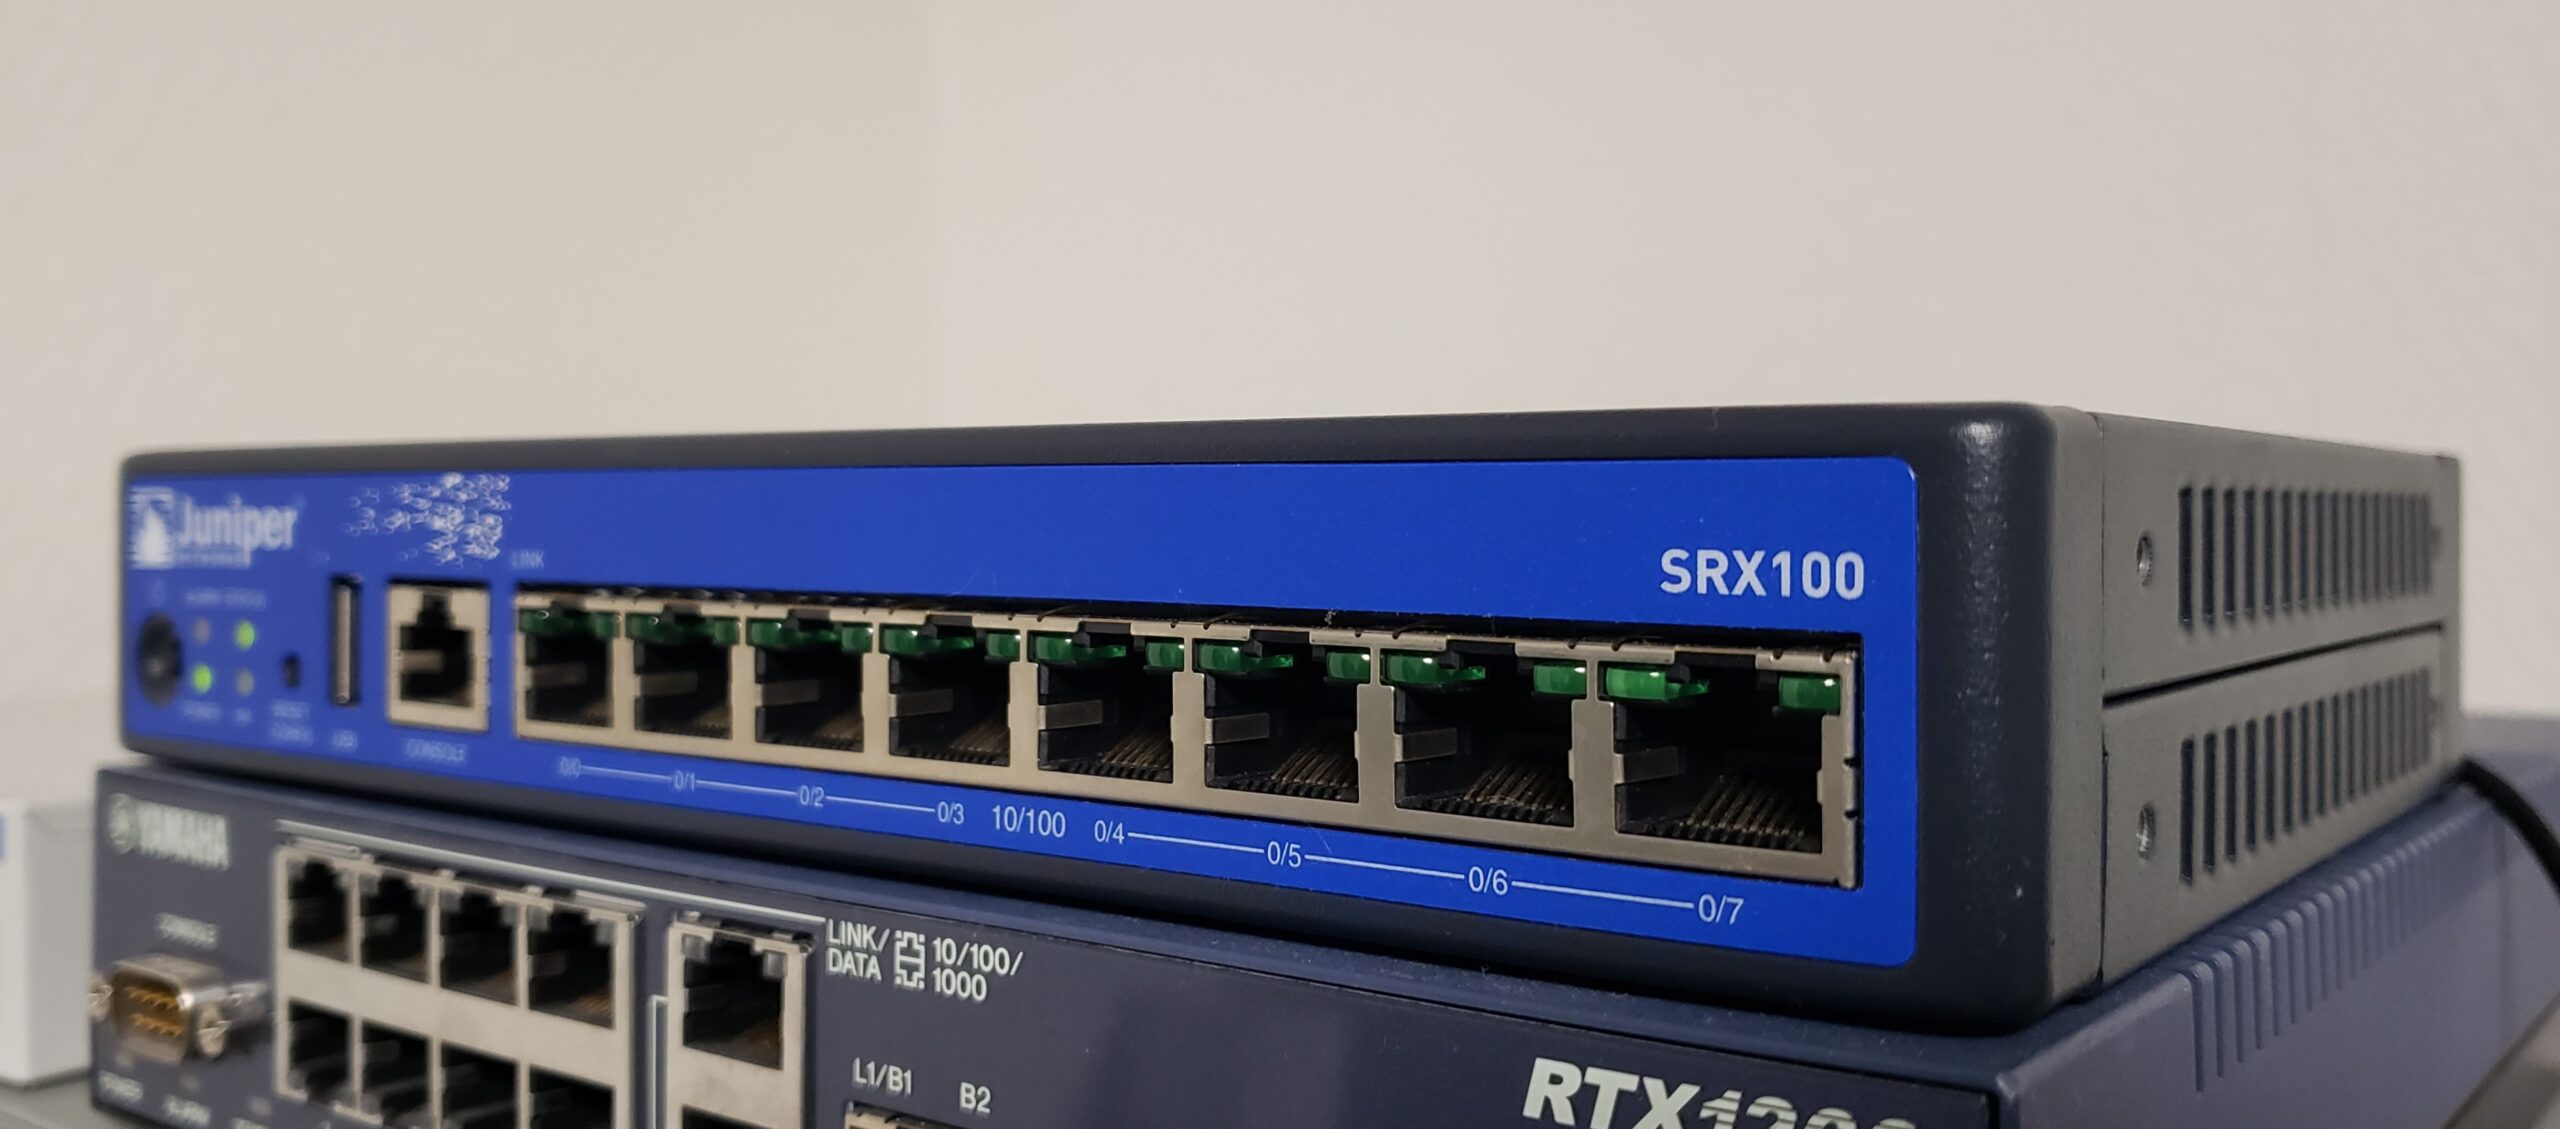
前回操作方法と基本周りは少し触ったので、次は簡単なネットワーク

GUIで見てみる。(EOL)
まずは初期化されているSRX100のf-0/0/1-7とPCをつなげる。
そしてDHCPでIPを取得すると192.168.1.0/24が割り当てられる。
SRX100はデフォルトで192.168.1.1/24のIPアドレスを持っている。
まず最初にGUIを確認するため、Webでhttp://192.168.1.1にアクセスしてみる。
私の場合は先にパスワードをCUIで設定していたのでこのような画面になりました。


このまま進めていくとトップ画面に…

Flashが2019/12/31でEOLになり、今コレを書いてる(2021/01/12-2:58)3時間前程の0:00に
ブロックされるようになりましたとさ。なので通常の方法では二度と見ることはできないので
諦めてCUIに戻ります。
初期設定
工場初期状態から開始する。
rootパスワードの設定をしないとコミットできないので注意。
% cli
> configure
# load factory-default
# set system root-authentication plain-text-password
New password: <pass>
Retype new password: <pass>
# commit
コミット完了したらコンフィグを確認する。
コンフィグCLIモードでshowするにはrunを使う。
※ciscoでいうdo
# run show configuration
~省略~
余計なものがいっぱいありそうなので削除していく
というかほぼ消すのでdeleteで全て消してroot-authenticationやれば良い気がする。
# delete system services //コンソールケーブルなのでTelnetやSSHも消す。
# delete system autoinstallation
# delete system name-server
# delete system license
# delete interfaces
# delete vlans
# delete security
削除したらコミットチェックしてコミット
# show | compare
# commit check
configuration check succeeds
# commit
自分の環境ではコンフィグがスッキリしました。
system {
    root-authentication {
        encrypted-password "**************"; ## SECRET-DATA
    }
    syslog {
        archive size 100k files 3;
        user * {
            any emergency;
        }
        file messages {
            any critical;
            authorization info;
        }
        file interactive-commands {
            interactive-commands error;
        }
    }
    max-configurations-on-flash 5;
    max-configuration-rollbacks 5;
}
protocols {
    stp;
}
ネットワーク設定(スタティックルート)

純粋なスタティックルート
YamahaとJuniperそれぞれに相手側のネットワークをスタティックルートとして登録する。
宛先ネットワーク宛の再帰的ルーティングとして登録する。
まずは同一ネットワーク上で疎通ができるように設定を行う。
| ホスト | IPアドレス | サブネットマスク | デフォルトゲートウェイ |
|---|---|---|---|
| PC-A | 192.168.1.1 | 255.255.255.0 | 192.168.1.254 |
| Juniper SRX100 fe-0/0/0 | 192.168.1.254 | 255.255.255.0 | – |
| Juniper SRX100 fe-0/0/1 | 192.168.10.1 | 255.255.255.252 | – |
| Yamaha RTX1200 lan1 | 192.168.2.254 | 255.255.255.0 | – |
| Yamaha RTX1200 lan2 | 192.168.10.2 | 255.255.255.252 | – |
| PC-B | 192.168.2.1 | 255.255.255.0 | 192.168.2.254 |
IPアドレスの設定
まずは上の表の設定を入れていく
Yamahaの設定は省きます。
# set interfaces fe-0/0/0 unit 0 family inet address 192.168.1.254/24
# set interfaces fe-0/0/1 unit 0 family inet address 192.168.10.1/30
# commit|compare
# commit check
# commit
コミットが完了した後、PC、YamahaもIPアドレスの設定を行い、
まずはそれぞれが疎通できるかpingを試す。
が、しかし。いくらやってもpingで疎通できない。。。
JuniperとPC-A, JuniperとYamahaどちらもだめ。
ここでハマり時間が経過する。。。
ようやく原因らしきものを見つけ、試してみる。
# set security forwarding-options family mpls mode packet-based
# commit

# run show security flow status
  Flow forwarding mode:
    Inet forwarding mode: packet based

    Inet6 forwarding mode: drop
    MPLS forwarding mode: packet based

    ISO forwarding mode: drop
  Flow trace status
    Flow tracing status: off
  Flow session distribution
    Distribution mode: RR-based
最初の状態ではflow basedになっている。
SRXの動作モードについて
SRXはファイアウォール製品であるため、デフォルトでflow basedになっている。
動作モードには2種類ある。
- Flow-based forwarding
- Packet-based forwarding
Firewallとして利用したい場合はFlow-based、ルータとして利用したい場合はPacket-basedというように使い分ける。
Packet-basedモードで動作する場合、ファイアウォールに関する機能は使えないため、
NATやステートフルインスペクション等が利用できなくなる。
代わりにRouterとしてMPLSなどが利用できるようになる。
スタティックルートの設定
今回は純粋にスタティックルートを追加するだけなので、
何も難しいことはなく、一文追加するだけ。
宛先である192.168.2.0/24宛はYamahaの192.168.10.2に送信する。
# set routing-options static route 192.168.2.0/24 next-hop 192.168.10.2
# commit
PC間でpingしてみる。
PC-A(Windows)→PC-B(kali)

PC-B(kali)→PC-A(Windows)

以上のように通信することができた。
次は動的ルーティングも試す予定です。
コンフィグ
system {
    root-authentication {
        encrypted-password "*****************"; ## SECRET-DATA
    }
    syslog {
        archive size 100k files 3;
        user * {
            any emergency;
        }
        file messages {
            any critical;
            authorization info;
        }
        file interactive-commands {
            interactive-commands error;
        }
    }
    max-configurations-on-flash 5;
    max-configuration-rollbacks 5;
}
interfaces {
    fe-0/0/0 {
        unit 0 {
            family inet {
                address 192.168.1.254/24;
            }
        }
    }
    fe-0/0/1 {
        unit 0 {
            family inet {
                address 192.168.10.1/30;
            }
        }
    }
}
routing-options {
    static {
        route 192.168.2.0/24 next-hop 192.168.10.2;
    }
}
protocols {
    stp;
}
security {
    forwarding-options {
        family {
            mpls {
                mode packet-based;
            }
        }
    }

}

